HOW TO 3D handmade birdhouse
Gorgeous Birdhouses decorated using different window shapes (Circle, heart, star or flower)
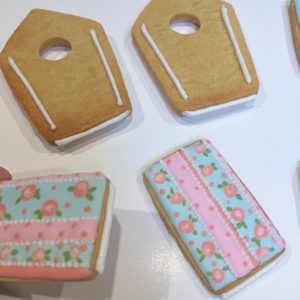
Step 1 – Pipe a line of stiff royal icing on the inside of both front walls and also along the base line (see white lines in pic) Alt the same time pipe a line of icing along the base of the side walls.
Step 2 – Take one front and one side and place onto the base, pushy carefully, but firmly to adhere the two pieces together. You do not need to make a base if you choose not too. If you choose not to, there is no need to put icing on the bottom of each cookie.
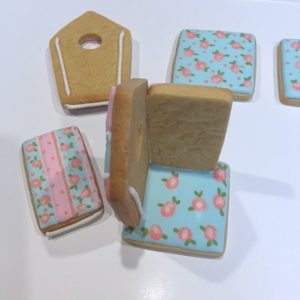
Step 3 – Take the 2nd side wall and glue this in place on the base. Press firmly in line with the other cookie piece.
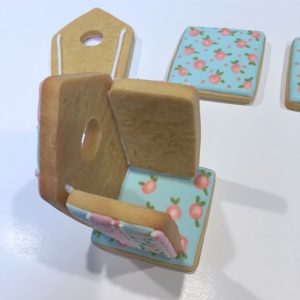
Step 4 – Take the 2nd front wall and glue this in place. Press firmly in line with the other cookie pieces. You still https://thesquarepdx.org/celebrex/ have time to reposition if you need to before it dries.
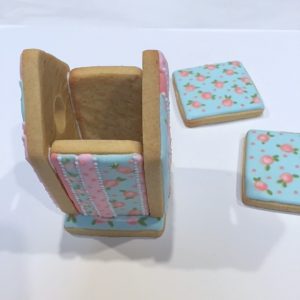
Step 6 – Pipe a line of stiff royal icing on top of each front panel piece, ready for the roof tops.

Step 7 – Line up and glue on each roof top. I do both pieces at the same time and move to ensure it is centered properly.
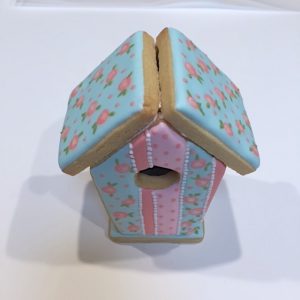
Step 8 – Add finishing trims, lines and details to your birdhouse to make it look extra special. Allow to dry.
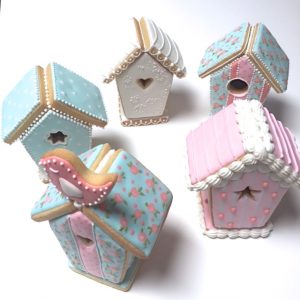
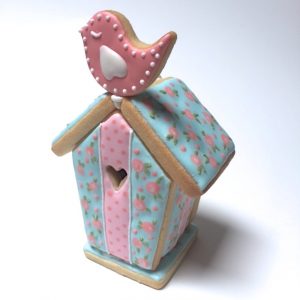
Step 9 – Glue in place your cute bird on top, on the side or even on the base. Allow to dry.
These make wonderful gifts at Easter, Christmas or other celebrations for family, friends and teachers. Wrapping in cellophane with a little ribbon works a treat!
I hope you enjoy creating these and please send in photos when you do..We’d love to see what you create. www.cuttercraft.com.au www.facebook.com/cuttercraft www.instagram.com/cuttercraft