HOW TO Mini gingerbread house
Make your own gorgeous mini gingerbread house for the festive season or high tea! It’s simple 🙂
You can decorate your house with royal icing after you have glued it together, but with this set above, I decorated each piece and then glued together when all the cookies pieces were dried. I prefer to decorate each piece before gluing the house together to ensure my design is the way I want it, rather than run the risk of the RI dripping…unless it is for the look of snow on the roof top 🙂

STEP 1 – Using your CutterCraft cookie cutter set, bake your favourite biscuit. You will need 2x fronts, 2x side walls and 2x roof tops. Here I have baked vanilla cookies, but gingerbread works very well too. Generally, I make a cookie about 6mm thick, but I actually made these a 1-2 mm thinner, for the more delicate look. You can find a delicious gingerbread right her under ‘Recipes’.
TIP – Whichever cookie dough I use, I always roll out my dough in between baking paper to my desired cookie thickness and RE-FRIDGERATE till cold. This eliminates me having to use extra muscles to roll out a cold, hard ball of dough. I then cut my shapes and FREEZE the shapes for a further 20 minutes. I then place directly into oven for the recommended baking time. I have a few trays going at once. This freezes all the ingredients so as they remain the same shape as you cut them. Working with the cookie dough generally becomes soft and when placed unfrozen in the oven, you will notice they spread whilst baking.

STEP 2 – Using royal icing (about piping consistency with work for these small ones, but a little thicker is better if you are making one of our large or small gingerbread houses)
Add a generous line of RI to the end of the side walls and glue to the ‘front’ cookie piece. Press firmly, but carefully so as not to break your cookie. Make sure you have aligned it properly to dry in place.
You can add as little or as much as you like. The more RI you use the more it will squeeze out of the edges to create a natural ‘snow’ look.

STEP 3 – Once your side walls are in place, add Ri to the edges of your back wall, line up and glue into place. Your RI will still be wet, so if anything looks crooked, simply adjust carefully. Allow to dry for a while before adding on the roof cookies. You will find because it is so small, you will not need to wait too long as the weight of the roof tops should not affect it. Adjust the sides if need.
If making the larger gingerbread houses, allow the RI to dry completely before adding on the roof pieces, due to the ‘weight’ of the cookie. If your RI is wet, you may find the walls may fall out of place.

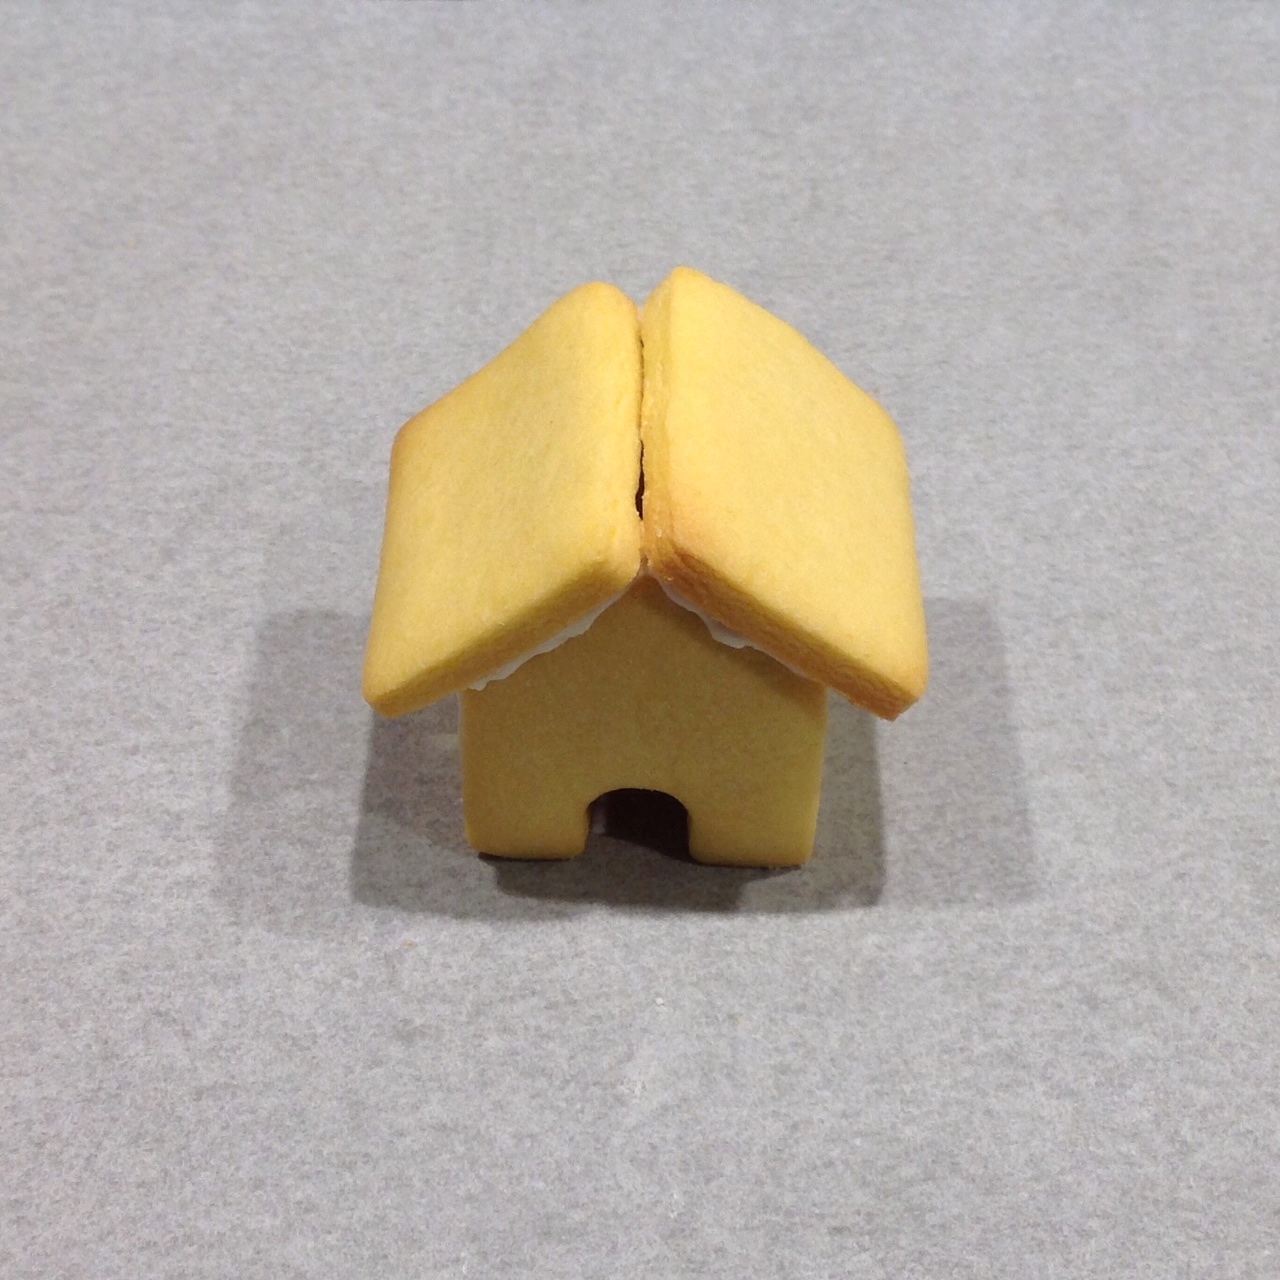
STEP 4 – Add RI to the top edges of the front cookies, ready for the roof tops.

STEP 5 – Carefully, place on your roof top, aligning it to the peak of the front and centred to the sides so it overhangs nicely at both ends.

STEP 6 – Continue for the other side. Align all wall and roof tops to ensure the balance is equal and not one sided heavier.

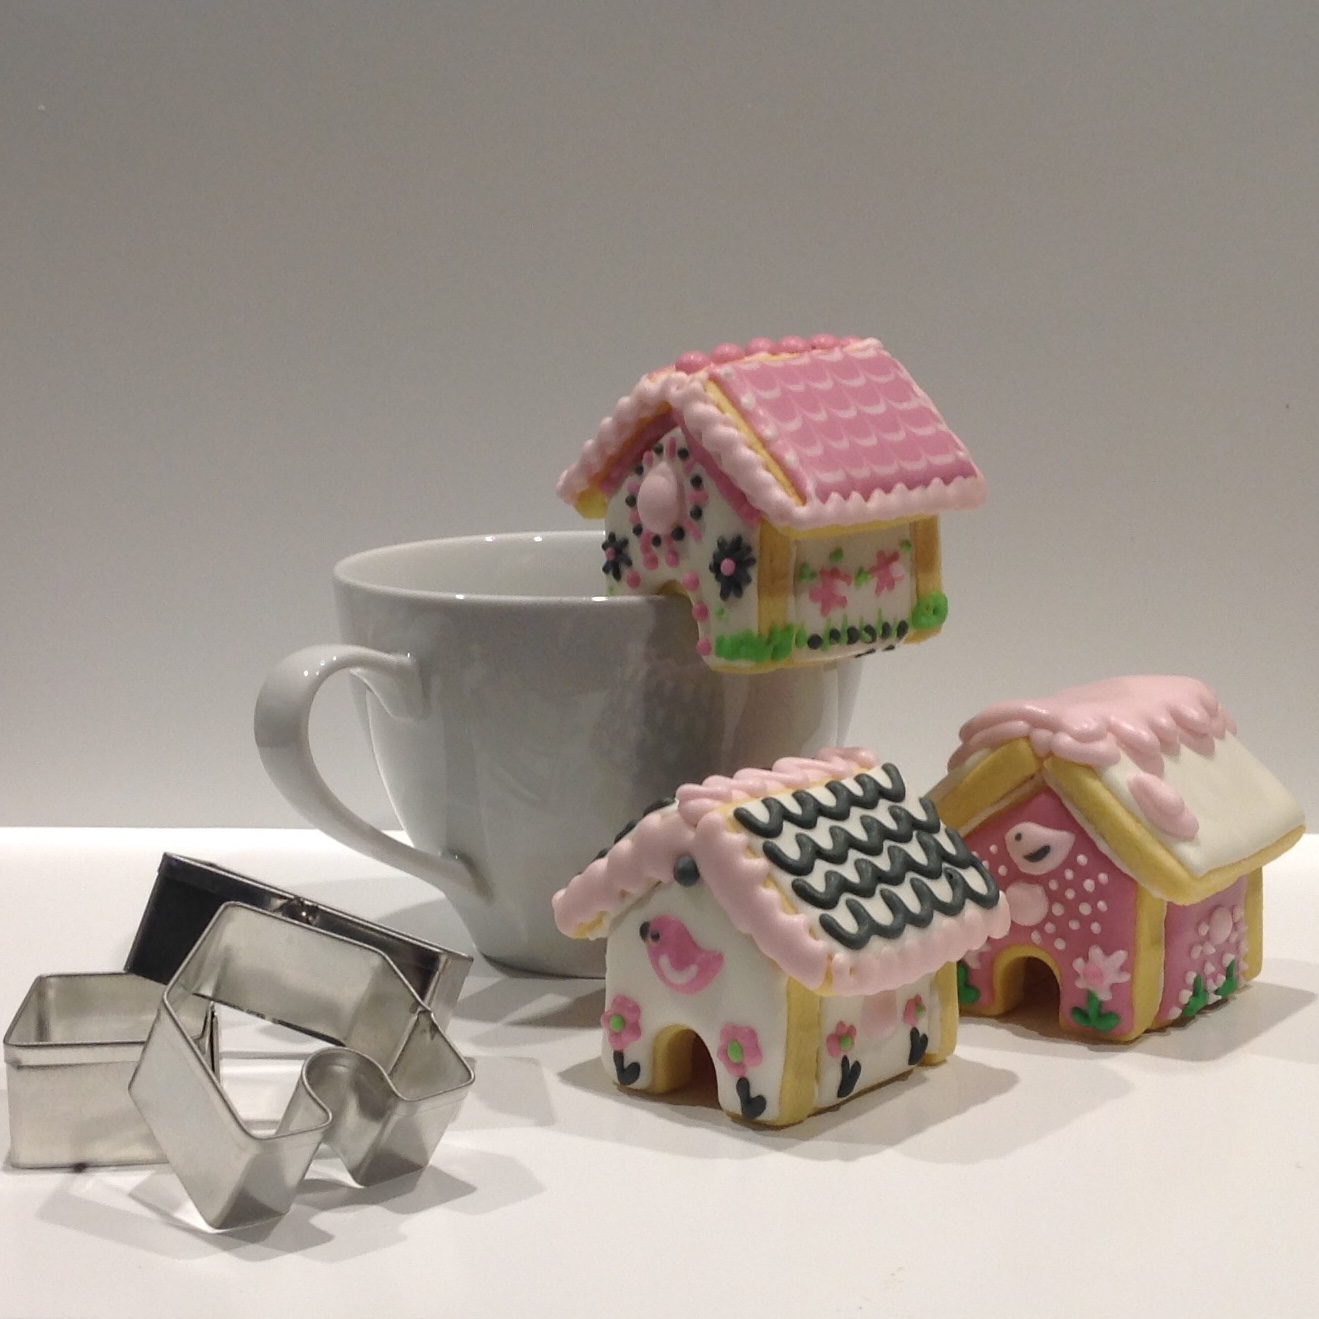
STEP 7 – Decorate with your favourite royal icing colours. Keep it ‘sweet and simple’ or go ‘extravagant’
Great idea – Glue this house onto a plate, round, rectangle or square and create a masterpiece with garden, flower decorations and all! Look out for a new acrylic plates to purchase, simply ideal!
You could also write names on them for ‘personalised’ place cards for your next event or Christmas dinner table and the plates make a terrific base to be able to wrap in cellophane as a gift, without the cookie breaking. 😀

TEST- I have taken a photo with them placed on a variety of cups from our cupboard. They will balance by the two door fronts, counterbalancing opposite at the front and then at the back. (Tricky to explain) They even sit on a glass, not that you would probably serve it on a glass, but it gives you the difference of material and rim thicknesses. The glass, although was certainly more slippery than ceramic material.
If you are concerned they only balance on the lip, you could certainly glue them onto the cup with a little royal icing in the doorways, but then that could be messy for your guest when they break it off the rim.

It’s a simple, effective cookie to make and I hope this short tutorial has helped you. I’d love to hear any feedback and absolutely love seeing pictures of your work, so please feel free to post straight to our FB page @CutterCraft 🙂